Ceiling Work
I had to remove the ceiling panels and insulation due to severe rodent
damage. This is NOT recommended and I wish I didn't have to
do it!
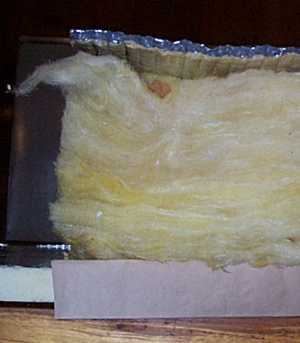
The original insulation is 1" thick aluminum backed fiberglass
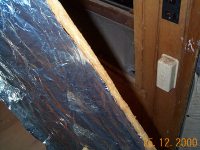
glued to the ceiling, and 1" aluminum backed large width batts (10
feet wide ) attached to underside of the aluminum joists by the 1/4"
thick wood stringers, provides an excellent vapor barrier and insulation,
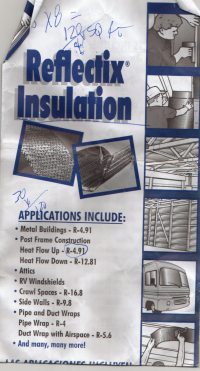
even by today's standards. . To replace it, I choose a new material, Reflecitix
for the roof underside portion, R-11 fiberglass and 1/2' foam core..
It should provide double the insulation value on the ceiling portion,
but the aluminum supports (beams) for the ceiling will still conduct
outside temperatures into the roof cavity. Though aluminum is an
almost perfect material for a trailer skin, a strong, durable , light weight
covering, it conducts heat and cold better than almost any other material.
So you have to deal with the heat and cold conducted through the beams
as well.
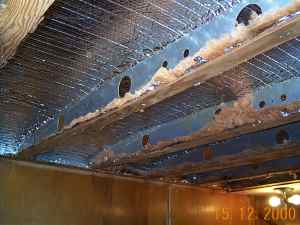
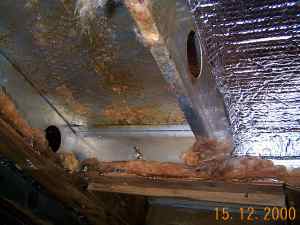 If you have to replace the barrier between the aluminum supports and the
wood stringers ( I just left the original and cut out the portion between
supports and just left original insulation between the support and
wood mountings) you would need to use a thin rubber type insulation, a
1/8" black rubber or dense foam.. After leaving the original at that
point, I installed regular R-11 3.5"x 15" x 8' fiberglass Kraft backed
insulation. Here is an old vs new look for the underside of the roof insulation
( looking straight up).
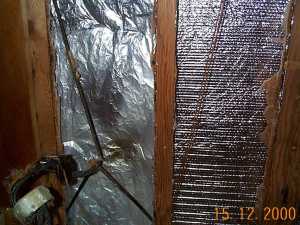
I used a great spray glue, 3 M # 77 to attached the Reflectix
to the under side of the roof.
.

My final ceiling will have three layers:
1. Reflectix glued under roof,
2. 3.5" fiberglass batts 15" wide placed in cavity
3 3/4" aluminized foam core(like R-MAX), cut to fit tightly
between beams.
This will in theory provide about R 25 insulation value. In the
only "test" of this I did, with only a 1500 watt cube heater, and no people,
appliances, lights or other heat source, and no window coverings
The inside of the trailer lowered to 45 degrees on a 17 degree night.
Before the insulation, it was down to 35 degrees on a 26 degree night.
If I were to do it again, I would attach a vapor barrier sheeting over
the whole thing before the ceiling panels are replaced.
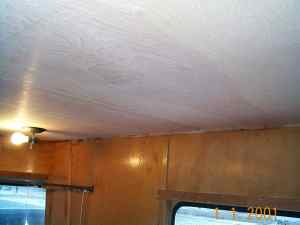
Here it is with the new plywood in place! Note kitchen cabinets removed
for refinishing, also replaced stove vent pipe in ceiling. I will stain
and urethane later.
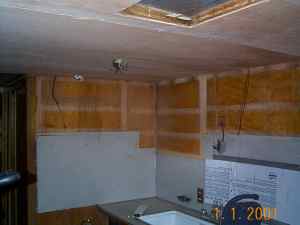
Here is the new ceiling and new wall panel and refinished cabinets,
stained, with molding replaced, ready for varnish.


 If you have to replace the barrier between the aluminum supports and the
wood stringers ( I just left the original and cut out the portion between
supports and just left original insulation between the support and
wood mountings) you would need to use a thin rubber type insulation, a
1/8" black rubber or dense foam.. After leaving the original at that
point, I installed regular R-11 3.5"x 15" x 8' fiberglass Kraft backed
insulation. Here is an old vs new look for the underside of the roof insulation
( looking straight up).


